The ABCs of DIY Air Sealing
Want to improve your home’s energy efficiency without replacing your HVAC system? Looking for renter-friendly ways to reduce your energy use? Just want to spend less on heating and cooling?
Finding and sealing air leaks in your home is a great place to start. And you can do it all yourself!
Here are a few of our favorite DIY air sealing methods.
Why Seal Air Leaks?
Sealing your home’s air leaks is one of the easiest ways to improve its overall energy efficiency without breaking the bank. 😤
With a budget of just $100, you can do enough DIY air sealing to make a noticeable difference in your energy use, and in your energy bills.
Homeowners save an average of 15% on their monthly heating and cooling costs after addressing air leaks. That number can be even higher for people who live in climates that require year-round use of their HVAC units.
Apart from the financial perks, air sealing can also improve the comfort and longevity of your home, as it is often associated with better air quality, uniform temperatures, and decreased risk of moisture damage.
Not a bad deal for 100 bucks!

Step One: Locating Cracks
Finding the exact places where air is leaking in and out of your home can be tricky.
If you are set on doing DIY air sealing from start to finish, there are a couple crafty methods that can help you suss out the trouble spots. 🔎
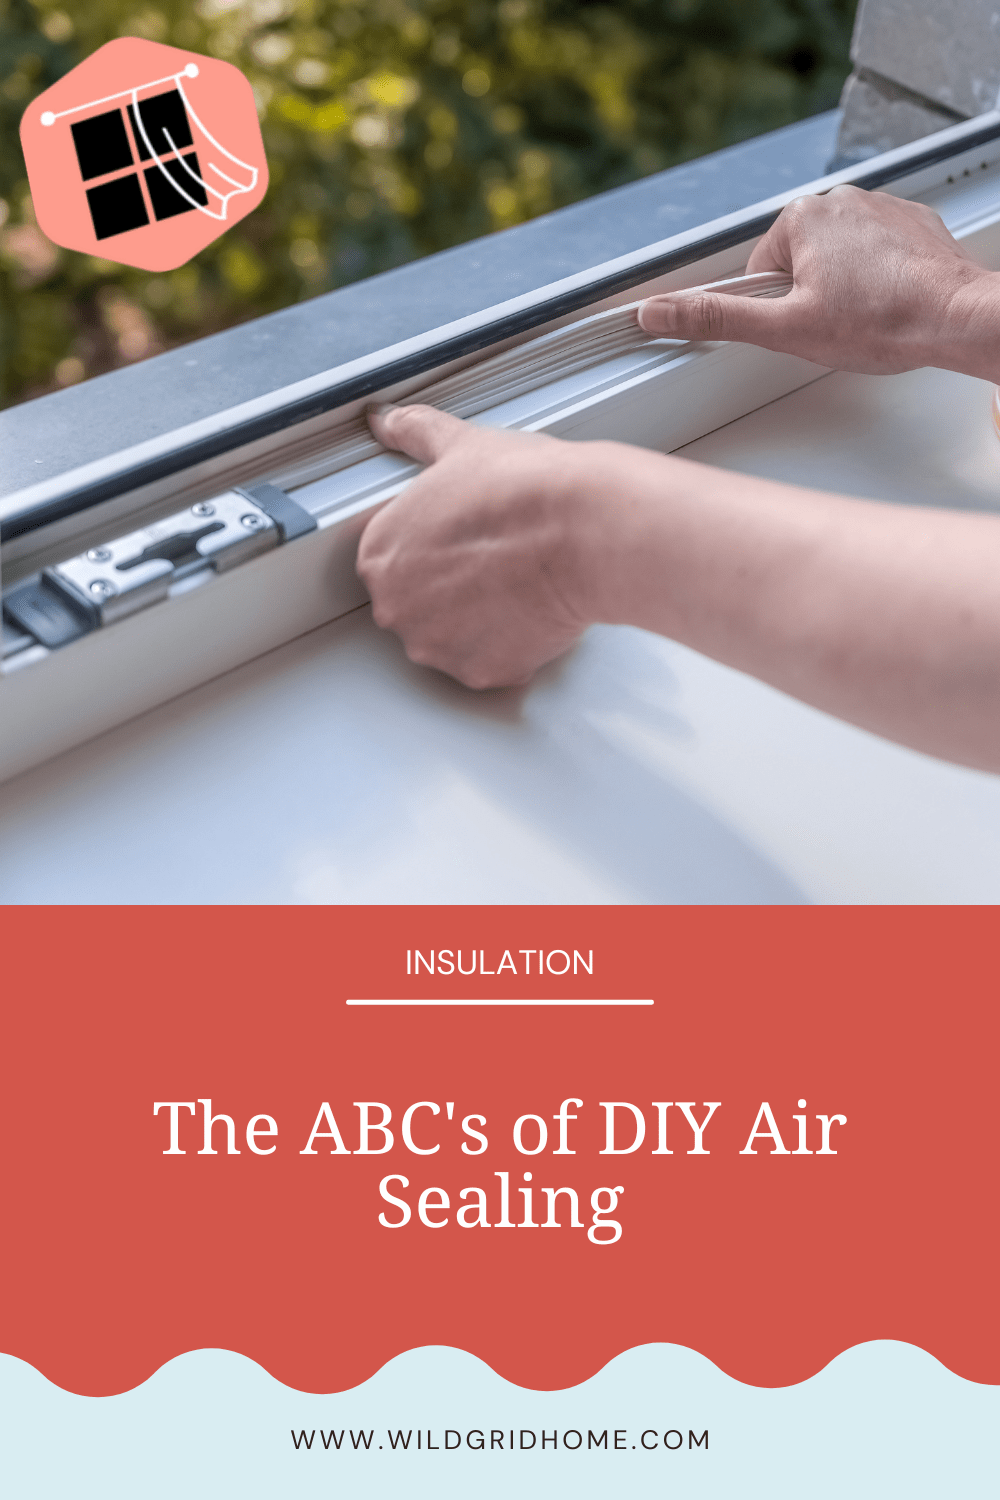
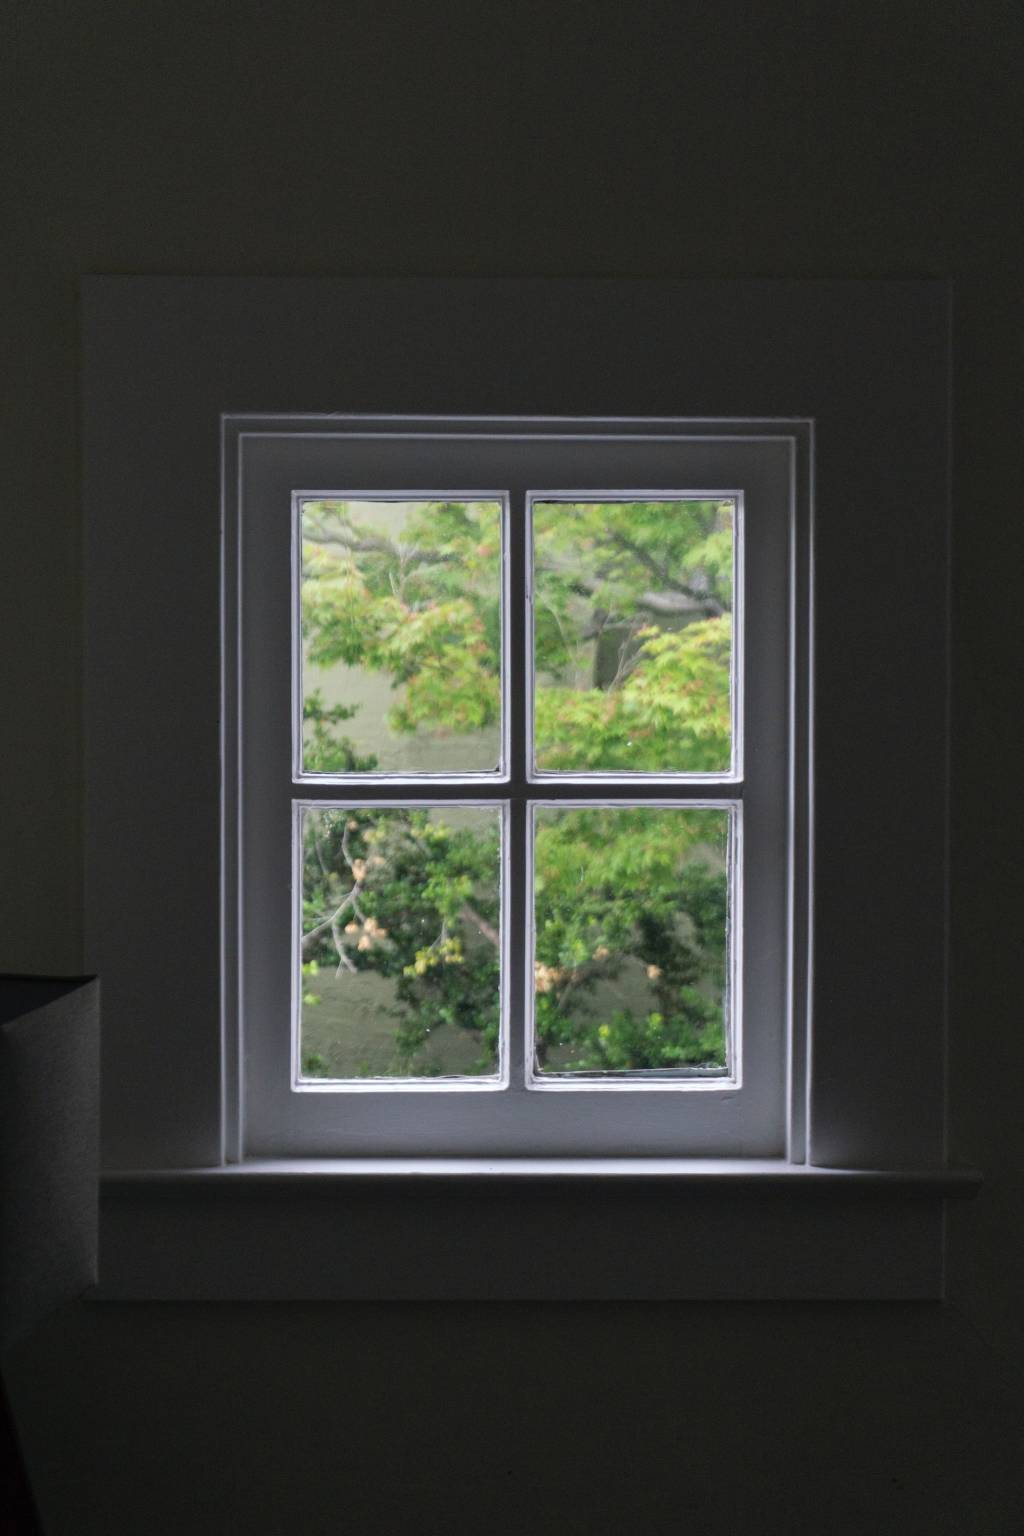
Finding air leaks in windows & doors
Windows and doors are often the primary suspects when it comes to major air leakage, but luckily they are also the easiest to check (and fix!). Case in point: if you can rattle your window or door in its frame while it is closed, it is not airtight.
If you would like to arrive at that conclusion in a slightly more sophisticated way, you can close the window or door that you are suspicious of on a dollar bill, and then try to pull it out. If the dollar bill does not seem to be encountering much friction, then congratulations! You have found an air leak.
Finding air leaks elsewhere
Pinpointing air leaks in other areas of your home is more complicated.
Generally, it’s a good idea to check the seams of your baseboards, the edges of your vents and outlet/light switch covers, and any places where pipes and wiring are coming through your walls. If you have access to them, you should also check your ducts. 🦆
“Checking” can mean just visually inspecting, but locating the teeny-tiny cracks will require a little more effort.
One method of unearthing these sneakier cracks is to invite a friend over for a movie night, and then surprise them with a crack-finding expedition.
That involves having them shine a bright flashlight at the exterior walls of your house while you walk around outside and try to spot any light coming through where it shouldn’t be.
Alternatively, you can hold an air leak seance. 🔮 🕯️
Close all of your windows and doors, turn off any gas/oil-based appliances, and turn on any and all fans that direct air outside (your bathroom exhaust fan, your kitchen exhaust fan, your dryer, etc.). This process depressurizes your home, which causes outside air to be drawn in.
Then, light a stick of incense and hold it near places where there might be air leaks. If the smoke from the incense doesn’t rise in a straight line, then there is a draft. Air leak identified. Mission accomplished. 💪
Alternatively, you can get an expert to come to your home and conduct an energy audit. You won’t have as much fun, but you will likely get a more complete picture of where your air leaks are. Some utility companies even offer this service for free!
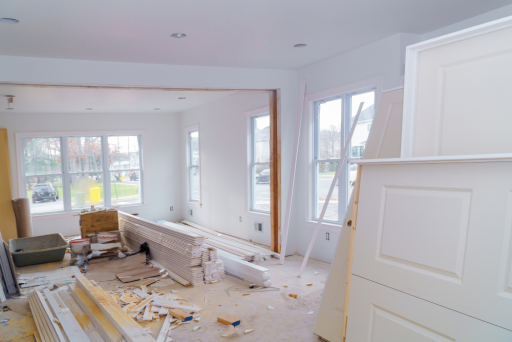
Step Two: Sealing Everything Up!
What is the best way to seal against air leaks?
Air leaks in different places around your house will require different methods of sealing. Here are the basic DIY air sealing methods:

Weatherstripping
All of the cracks around your windows and doors can be sealed with weatherstripping (not to be confused with “weather stripping”, which is sort of like a rain dance, but a little more saucy).
There are many different types of weatherstripping: the most common varieties are foam and felt tapes, vinyl and metal v-strips, rubber gaskets, and door sweeps/thresholds.
When choosing which weatherstripping to go with, here are some things you’ll want to consider:
🚪Your Windows/Doors: The type of weatherstripping that is most compatible with a sliding glass door might not work well with a hinged window. Two different double-hung windows might require weatherstripping with two different thicknesses. Take measurements and do a little research before heading to checkout with a cart full of foam tape.
💵 Cost: The price points for weatherstripping materials are a little all over the place. At Home Depot, you can get a 17 foot roll of foam tape for a couple bucks, and an air-sealing door threshold for a couple hundred bucks. You’ll be able to find weatherstripping that meets your needs regardless of your budget, but keep in mind that spending a little more will likely give you a better air seal that will last longer.
🕰️ Longevity: Foam tape will not last long on a door that’s opened and closed all day every day, but might be just fine for a window that’s rarely used. Think about your home’s foot traffic and about how often you’re willing to replace your weatherstripping, especially when you’re trying to figure out which material you want to go with.
🛠️ Ease of Installation: Are you a peel-and-stick kind of person, or are you always looking for an excuse to use a hammer? Different kinds of weatherstripping are different levels of DIY, so think about the time you’re willing to spend on air sealing before purchasing your materials and getting to work.
👀 Visual Appeal: The cheaper and easier to install varieties of weatherstripping tend to be more visible than the pricier, labor intensive options. Keep your aesthetic preferences in mind when doing your weatherstripping shopping.
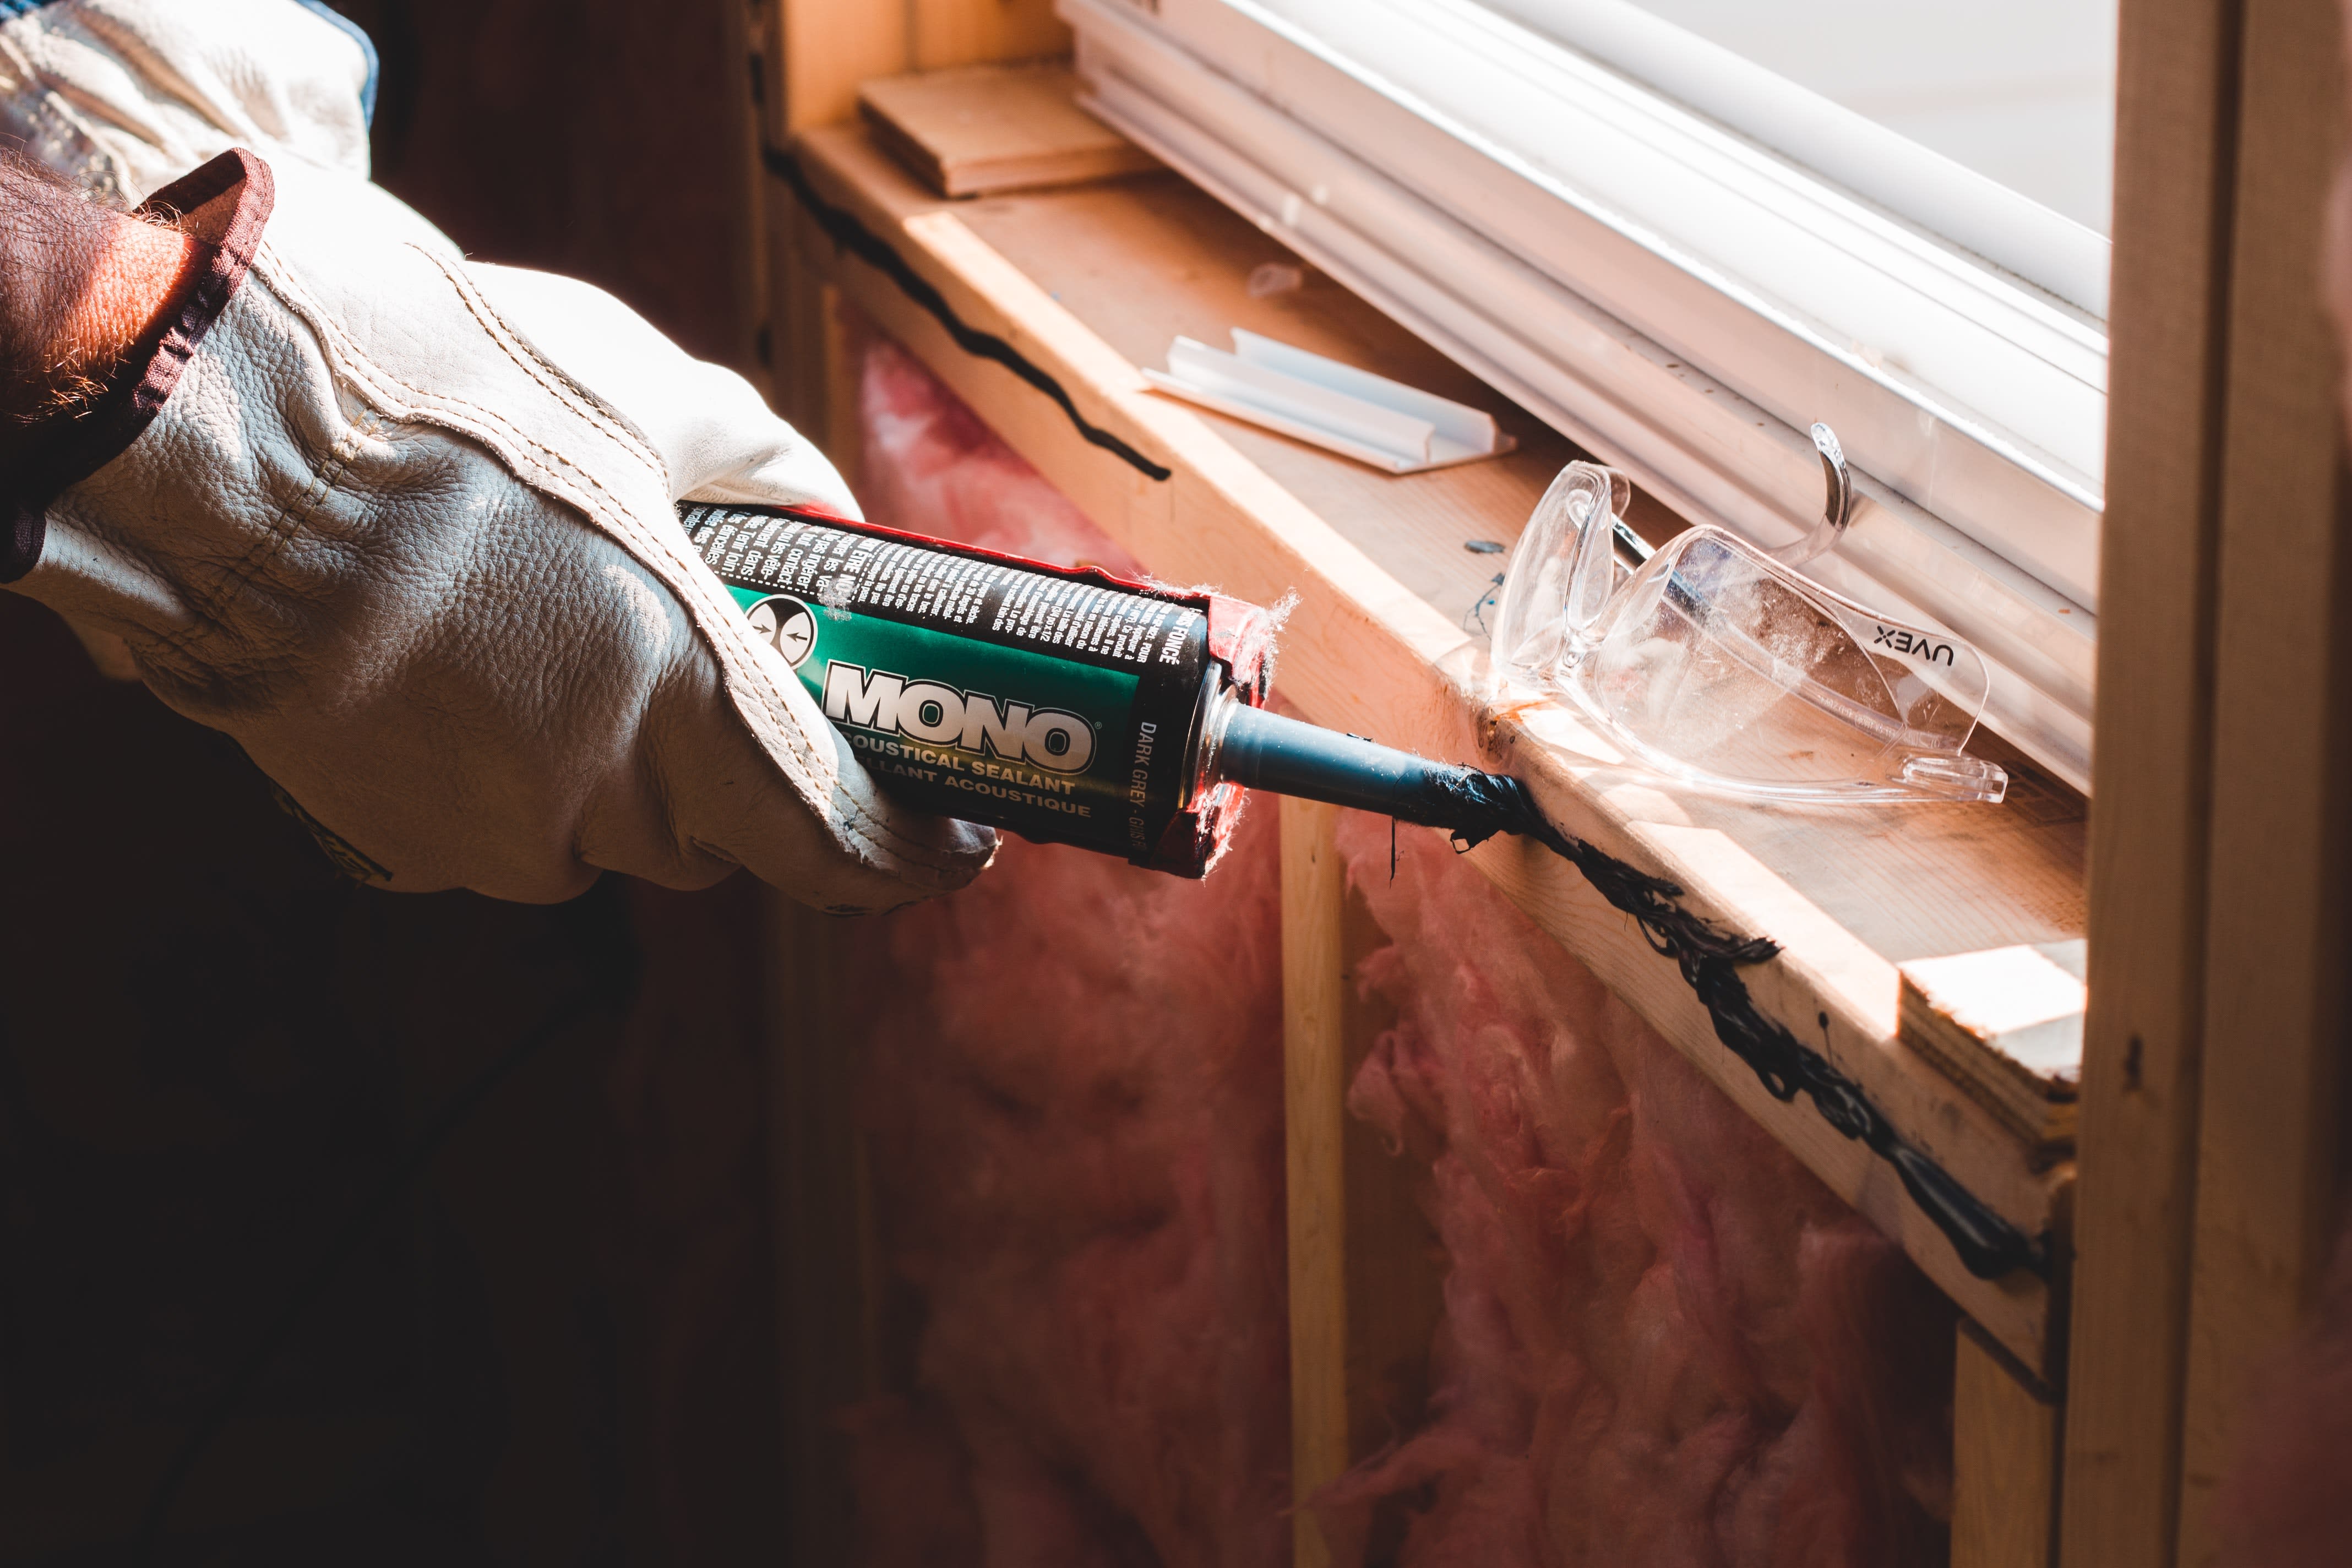
Caulk
Caulk is used to seal air leaks that don’t have any moving parts, like those at the edges of baseboards or around pipes. Generally, caulk is only appropriate for cracks that are less than ¼ inch wide – expandable foam is a better option for anything bigger.
There are many different kinds of caulk, made with different ingredients and used for different things.
Some varieties are only for indoor use, some are only for outdoor use. Some can be painted over, some can’t. Some are flexible after drying, some are stiff. Give the labels and instructions a good once over before committing to a caulk for your project.
Regardless of the ingredients, most caulk cartridges are only about $5 or less.
In addition to the caulk itself, you’ll need a “caulk gun” to dispense the caulk. Caulk guns can be as much as $500, but thankfully there are also $4 options for homeowners with less expensive tool tastes.
The process of DIY air sealing with caulk is pretty self-explanatory once you get your hands on the materials, but here are a few tips to help you get the best seal possible:
🌞 Choose a day that is relatively warm (i.e. above 45 degrees Fahrenheit) and dry so that the caulk sets properly
🧼 Clean and dry the area around the crack before applying the caulk to make sure it sticks
📐 Hold the caulk gun at a 45 degree angle to force as much caulk as possible into the crack
🐢 Move slowly and steadily without stopping to ensure an even, neat application with no gaps

Outlet Insulators
Outlet insulators, also called gaskets or socket sealers, are little pieces of foam that go behind outlet and switch covers to seal any air leaks that may be around their edges.
To install a socket sealer, all you have to do is cut your power, remove the cover from the outlet/switch you want to seal up, press the foam into place, replace the cover, and then turn the power back on. Easy as pie. 🥧
You can use caulk or expandable foam in the gap between the wall and the outlet mount to seal these cracks as well; outlet insulators are just a quick and easy-to-use alternative.
For extra hardy seals, you can use outlet insulators in combination with caulk or expandable foam. For extra extra hardy seals, you can add plug covers to prevent any air leakage through the outlets themselves. 🔌
Socket sealers are as cheap as they are easy to install; Home Depot sells a variety pack of 14 for only a few dollars.

Duct Tape
Sealing your ducts (if you have them) is an important part of the DIY air sealing process, as it ensures that all of the heated and cooled air you’re paying for goes where it is supposed to instead of getting lost in your attic.
Despite its name, standard “duct tape” is actually not the best duct-sealing product, as it tends to dry up and peel off within a year of application. 👎
Instead, you should use foil duct tape or mastic duct tape. The cheapest foil duct tapes Home Depot sells are between $10-$15 per roll, while the cheapest mastic duct tapes they sell are around $30 per roll.
These prices might feel steep when compared to that of regular duct tape, but they last much longer. You’ll get 3-5 yearsof high quality air sealing out of foil duct tape, and 20-50 years out of mastic duct tape. 🤯
In general, you’ll want to apply your chosen tape to the seams of your ducts, and to any obvious holes.
The #1 DIY Air Sealing Tip
Home improvement projects can be stressful, especially if you decide to go the DIY route.
The most important thing to remember when you are DIY air sealing your home is that it doesn’t have to be perfect. You probably won’t find all of the air leaks in your home, you might not get perfect seals on the ones that you do find, and you will definitely learn as you go. 📓
But any amount of air sealing you are able to do is better than none! Preventing even the smallest amount of air leakage can make a big difference.
So don’t stress. Just seal.
Want to learn more about how you can improve your home’s energy efficiency? Check out Wildgrid’s new planning tool!